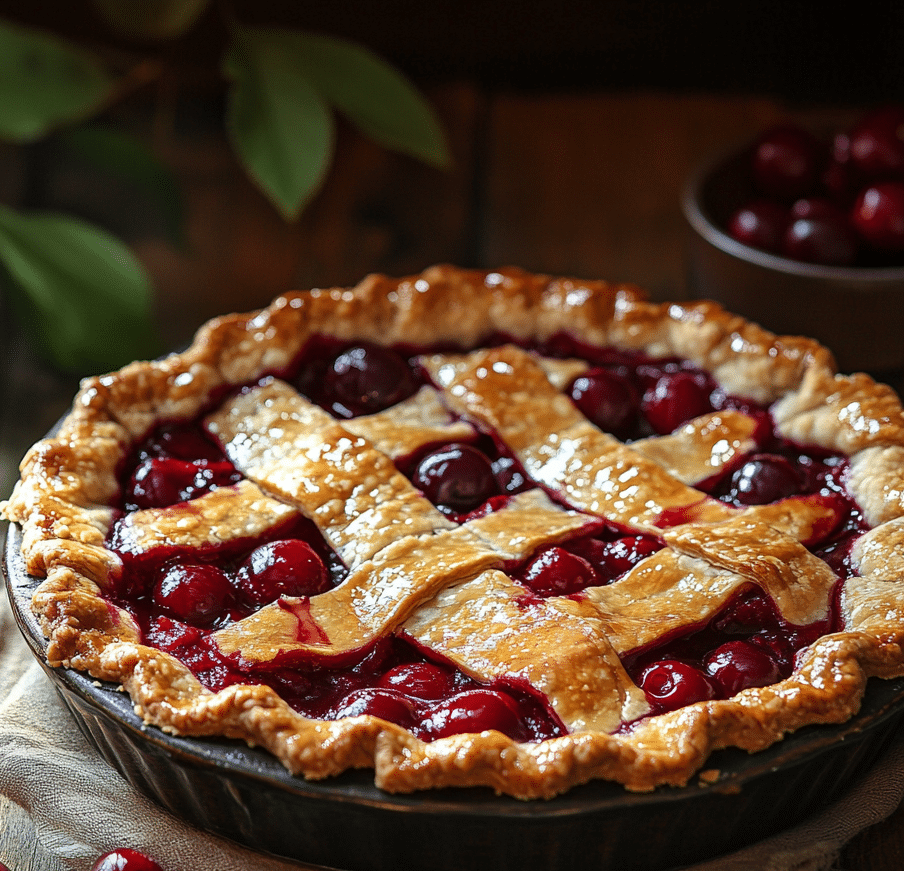
One summer afternoon, I bit into a slice of cherry pie that nearly dripped down my hand. It wasn’t your typical sticky, thick version it was bright, juicy, and refreshing. That moment sparked my fascination with what I now call a “water cherry pie.” It’s not just pie it’s an experience. This pie celebrates the natural juiciness of cherries, creating a luscious filling that’s bursting with moisture but still sliceable. In this article, I’ll show you how to get that perfect balance: juicy, flavorful, and never soggy. Let’s talk technique, flavor, and that one extra detail that makes this pie unforgettable.
What Makes a Cherry Pie a “Water Cherry Pie”?
A Pie That Lets the Juice Shine
At first glance, “water cherry pie” might sound like a mistake in the kitchen. But when done right, it’s the opposite. This pie style puts the cherry’s own liquid sometimes enhanced with juice or a bit of water front and center. The result is a glossy, luscious filling that isn’t stiff or jam-like. Instead of thick globs, you get plump cherries suspended in a ruby-red syrup that flows with each slice.
It’s the kind of pie where you almost need a spoon and that’s the beauty of it. Unlike traditional recipes that overcorrect with heavy thickeners, water cherry pie embraces the cherries’ natural juices, turning them into the star of the show. That liquid isn’t a flaw it’s the feature.
Striking the Balance Between Juicy and Structured
The challenge is getting just enough structure so the pie holds its shape but still oozes just a bit on the plate. The goal is not runny, but glossy and spoonable. Cherries are naturally water-rich, especially sour or sweet dark varieties. When they bake, they release moisture.
A good water cherry pie controls this with just the right amount of starch more on that later and careful baking. What makes this pie different is how it celebrates that juice instead of cooking it into something rigid. It’s less about perfection and more about pleasure: a rustic, flavor-forward dessert that doesn’t hide its messiness.
Preventing a Watery Cherry Pie from Making the Crust Soggy
Build a Strong Base with Par-Baking and Barrier Layers
The juiciest pies need the crispiest crusts. And when it comes to a water cherry pie, that crust has a big job holding in all that liquid without turning to mush. The first step? Par-baking, or partially blind baking, your bottom crust. This technique sets the crust before the filling even goes in, giving it a fighting chance to stay firm.
Line the crust with parchment and fill it with pie weights or beans. Bake it just until it’s lightly golden. Then cool it before adding your filling this prevents steam from softening the bottom when the hot filling hits.
You can also dust the crust with a light layer of flour and sugar before filling. This “crust dust” absorbs the first wave of moisture like a sponge, sealing in crispness.
Bake Hot, Cool Slow, Slice Late
Once your pie is in the oven, high heat helps the bottom crust set quickly. Try baking on a lower rack or even directly on a preheated baking sheet or stone. The extra blast of heat from below gives your bottom crust a head start against sogginess.
But don’t stop at baking cooling matters just as much. After it comes out of the oven, that glossy cherry filling needs time to thicken fully. Let it sit at room temperature for at least 3–4 hours. Slice too soon, and you’ll end up with cherry soup. Wait, and you’ll be rewarded with a thick, lush filling that oozes slightly but doesn’t flood your plate.
This combo par-bake, seal, heat, and cool is the crust’s defense system. With these steps, your water cherry pie can be both juicy and crisp, every time.
Using Cherry Juice or Water for a Juicier Filling
Choosing Between Cherry Juice and Water
One of the secrets to a water cherry pie’s rich texture is adding a bit of extra liquid just enough to boost the moisture without washing out the flavor. Cherry juice is the obvious choice. It intensifies color and flavor, blending seamlessly with the fruit. If you’re using fresh cherries, you can even press a handful to extract natural juice.
But what if cherry juice isn’t available? That’s where water comes in. Adding a small amount just a few tablespoons can help create a looser, more syrupy filling, especially when combined with sugar and thickener. The key is balance. Too much, and you risk diluting the cherry flavor. Just enough, and you get that perfect lush texture that makes every bite feel like a burst of summer.
How to Keep the Flavor Bold
If you’re going the water route, or even blending water with cherry juice, it’s smart to reinforce the flavor. A little lemon zest or juice can brighten things up without making it taste sour. A few drops of almond extract? That’ll deepen the cherry notes beautifully.
Sweeteners also matter. Brown sugar adds richness, while white sugar keeps the flavor clean and bright. You can even simmer the juice or water briefly with a cinnamon stick or vanilla bean to infuse subtle complexity.
Ultimately, a water cherry pie isn’t about making the filling watery it’s about making it refreshing, light, and juicy while still tasting like pure cherries. Whether you use cherry juice, water, or both, you’re layering in depth without drowning the flavor.
Ideal Thickener Ratio for a Water-Rich Cherry Pie Filling
Choosing the Right Thickening Agent
When you’re working with extra juice or water in a pie, structure becomes everything. Too little thickener and you’ve got cherry soup. Too much, and you lose that beautiful flow. The key is picking the right starch and using it wisely.
Cornstarch is the go-to for most pies. It gives a glossy finish and holds up well to high temperatures. It’s easy to find, easy to use, and predictable. But it can go cloudy or chalky if overused.
Tapioca starch or instant tapioca, on the other hand, offers a clear, smooth set that’s ideal for juicy fillings. It’s less gummy and blends beautifully with fruit, creating that luxurious texture that lets your pie be juicy without being sloppy.
How Much to Use for the Perfect Set
For cornstarch, aim for about 2 to 3 tablespoons per cup of liquid in your filling. That includes any juice or water you’ve added. It’ll give you a nice thick syrup that doesn’t turn to glue.
If you’re using tapioca starch, a more precise approach works better. A good starting point is 5 to 6 grams per 100 grams of fruit, which equals around 1 tablespoon per cup of cherries. This ratio keeps things soft and glossy without over-thickening.
Always stir your thickener into the juice or water before it hits the fruit. And if possible, cook the filling on the stove for a few minutes before it goes into the crust this activates the starch early and prevents the pie from bubbling over while baking.
The result? A filling that’s thick enough to slice but loose enough to spoon. That’s the signature of a perfect water cherry pie.
for more recipes follow our facebook page
Conclusion
Water cherry pie isn’t just a twist on tradition it’s a celebration of juicy, fresh flavor and the art of balancing structure with softness. From choosing the right thickener to mastering the crust, every step is about letting cherries shine in their most luscious form.
Whether you’re using fresh fruit and cherry juice or just adding a splash of water to your filling, the results can be stunning. Juicy, bright, and full of summer energy, this pie proves that a little extra liquid can go a long way when handled with care.
Try it for yourself, let it cool, slice it slow, and enjoy the beautiful mess that only a water cherry pie can deliver. It’s not just dessert it’s a memory waiting to happen.
Frequently Asked Questions
What makes a cherry pie “water cherry pie”?
A “water cherry pie” focuses on creating an extra-juicy, vibrant cherry filling that celebrates the fruit’s natural moisture. Instead of a thick, jam-like texture, the filling is looser sometimes made with added cherry juice or water to enhance flavor and silkiness while still holding its shape when sliced.
How do you prevent a watery cherry pie from making the crust soggy?
Start by partially baking (par-baking) your bottom crust to form a barrier. Use a flour-sugar layer (“crust dust”) before adding the filling. Bake on a hot surface to help set the bottom quickly, and always let the pie cool completely before slicing to allow the filling to firm up properly.
Can I use cherry juice or water to make a juicier cherry pie filling?
Yes. Cherry juice adds flavor and deepens the color, while a small amount of water can increase juiciness. When using water, enhance the taste with lemon zest, almond extract, or spices so the cherry flavor remains front and center.
What’s the ideal thickener ratio for a water-rich cherry pie filling?
For cornstarch, use 2–3 tablespoons per cup of liquid. For tapioca starch, aim for about 5–6 grams per 100 grams of fruit. This gives you a glossy, spoonable texture that’s still firm enough to slice.

Water Cherry Pie: A Juicy, Refreshing Twist on a Classic
A juicy and flavorful cherry pie featuring a luscious filling made with fresh cherries, a touch of water or cherry juice, and the perfect flaky crust.
- Total Time: 4 hours
- Yield: 1 pie (8 slices) 1x
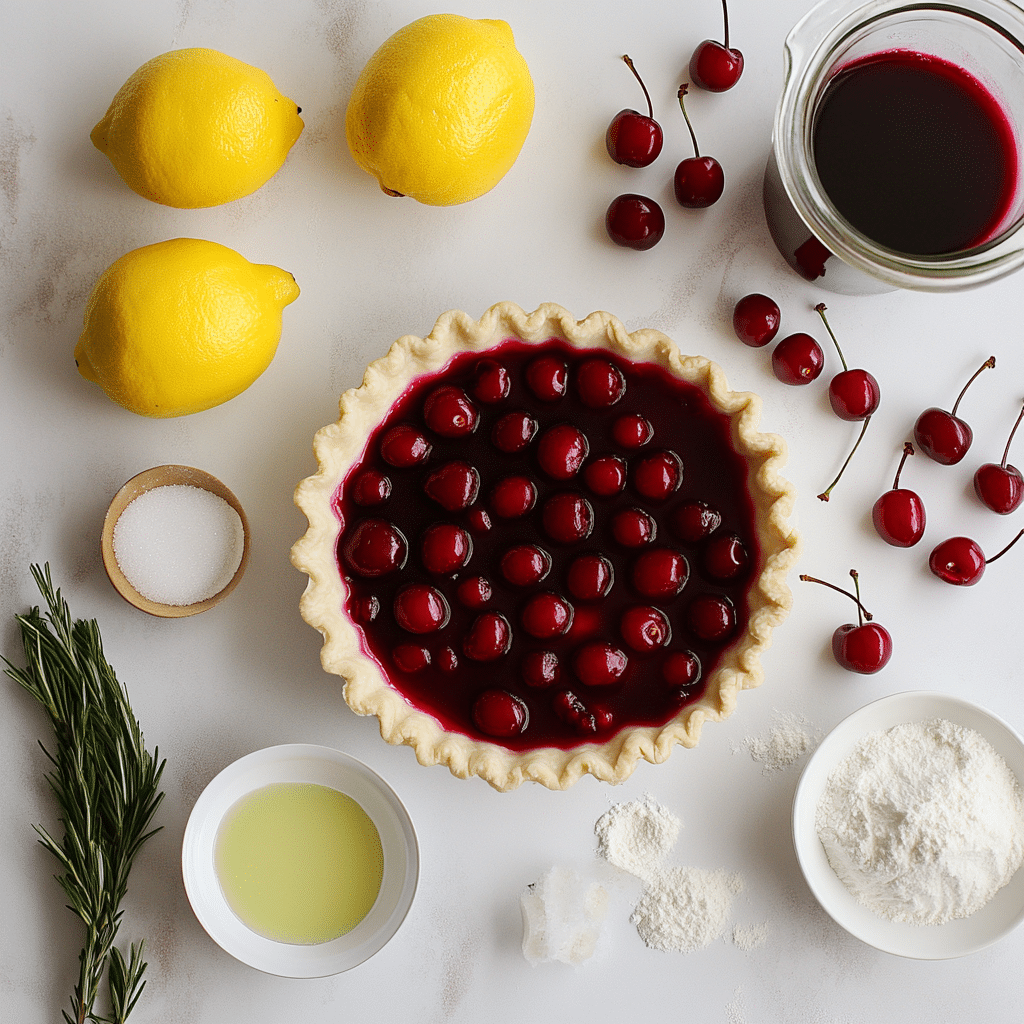
Ingredients
4 cups fresh cherries, pitted
3/4 cup sugar
2 tbsp lemon juice
1/4 cup cherry juice or water
3 tbsp cornstarch
1/4 tsp almond extract
1 pie crust (top and bottom)
1 tbsp flour (for crust dust)
1 tbsp sugar (for crust dust)
1 egg (for egg wash)
Instructions
1. Preheat oven to 400°F (200°C).
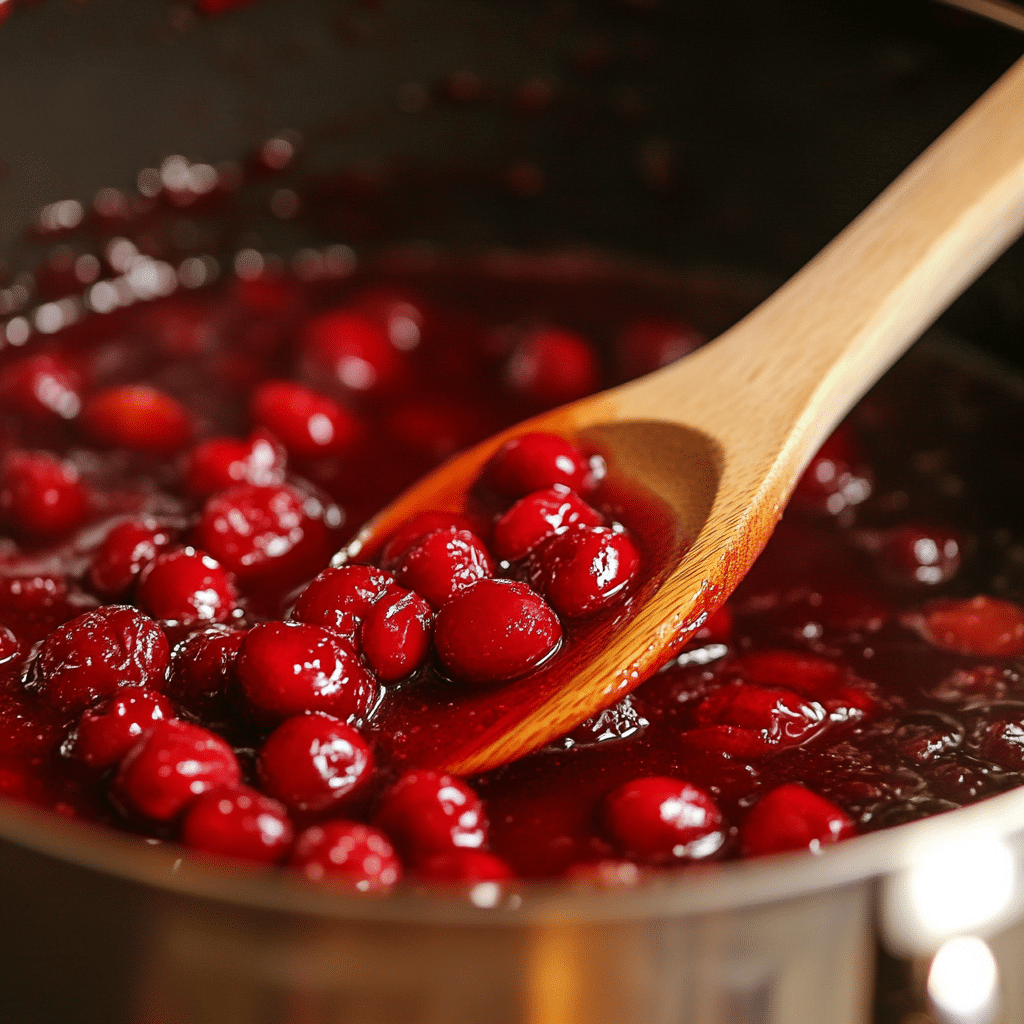
2. In a saucepan, combine cherries, sugar, lemon juice, and cherry juice (or water). Cook over medium heat.
3. In a small bowl, mix cornstarch with a tablespoon of water to form a slurry.
4. Add slurry to cherry mixture. Stir and cook until thickened. Remove from heat. Stir in almond extract.
5. Roll out the bottom crust and place it in a pie dish. Sprinkle with crust dust.
6. Pour cooled filling into crust. Top with second crust. Crimp edges and cut vents.
7. Brush with egg wash.
8. Bake for 45-50 minutes until golden and bubbling.
9. Cool for at least 3 hours before slicing.
Notes
Use fresh or frozen cherries.
Let the pie cool completely to allow the filling to set properly.
Tapioca starch can be substituted for a clearer filling.
- Prep Time: 30 minutes
- Cook Time: 50 minutes
- Category: Dessert
- Method: Baking
- Cuisine: American
- Diet: Vegetarian
Nutrition
- Serving Size: 1 slice
- Calories: 310
- Sugar: 24g
- Sodium: 140mg
- Fat: 14g
- Saturated Fat: 6g
- Unsaturated Fat: 7g
- Trans Fat: 0g
- Carbohydrates: 42g
- Fiber: 2g
- Protein: 3g
- Cholesterol: 35mg
